Jet Pump Troubleshooting: No Water, Weak Pressure, and Cavitation Noise Explained
If your well has power but nothing comes out of the tap, you are in the right place. This guide walks through jet pump troubleshooting for no water, weak pressure, and that gravel-in-a-blender cavitation noise, step by step, so you can figure out what is likely wrong before anyone shows up in a truck. We focus specifically on jet pump cavitation noise and other common jet pump issues to help you diagnose problems effectively. Around Gresham and the rural edge of Multnomah and Clackamas County, from Sandy and Boring out to Corbett and Estacada, most homes past the city water line depend on a private water well. When the pump acts up, the water stops, and the guessing starts. The goal here is to end the guessing.
A quick note on who this is for. Jet pumps sit above ground, usually in a well house, garage, or basement, and pull water up through a suction line. Many newer wells in this area run a submersible pump down the well instead. According to the Indiana Department of Health, residential well systems typically pair a submersible pump with a pressure tank that may sit in the well, the house, or a crawl space. If your pump is a motor you can see and touch, with pipes running into it, you have a jet pump and this article is written for you. If everything disappears down the well cap, some of the pressure tank checks still apply, but the pump itself is out of reach.
How a Jet Pump Actually Works, in Plain English
You cannot troubleshoot a machine you do not understand, so here is the two-minute version. A jet pump does not push water up from the well. It pulls, using suction, the same way you pull a milkshake through a straw. That single fact explains most jet pump problems.
For suction to work, the pump body and the suction line must be completely full of water. That is called being primed. Air in the line breaks the suction, and the pump spins uselessly, moving nothing. To keep the water from draining back down the well every time the pump shuts off, there is a one-way valve at the bottom of the suction line, called a foot valve or check valve. When that valve leaks, the pump loses its prime, and you wake up to no water.
Deep well jet pumps add one twist. They send some high-pressure water back down the well through a narrow nozzle, which speeds the water up, the way putting your thumb over a garden hose makes the stream faster. That fast-moving water helps lift more water up the suction line. More parts means more places for trouble, but the logic stays the same: keep the system full of water and sealed against air.
The pump feeds a pressure tank, and a pressure switch turns the pump on and off between a low setting and a high setting. Almost every symptom you will notice at the faucet traces back to one of four things: power, prime, a leak, or a worn part.
Jet Pump Troubleshooting for No Water: Start Here
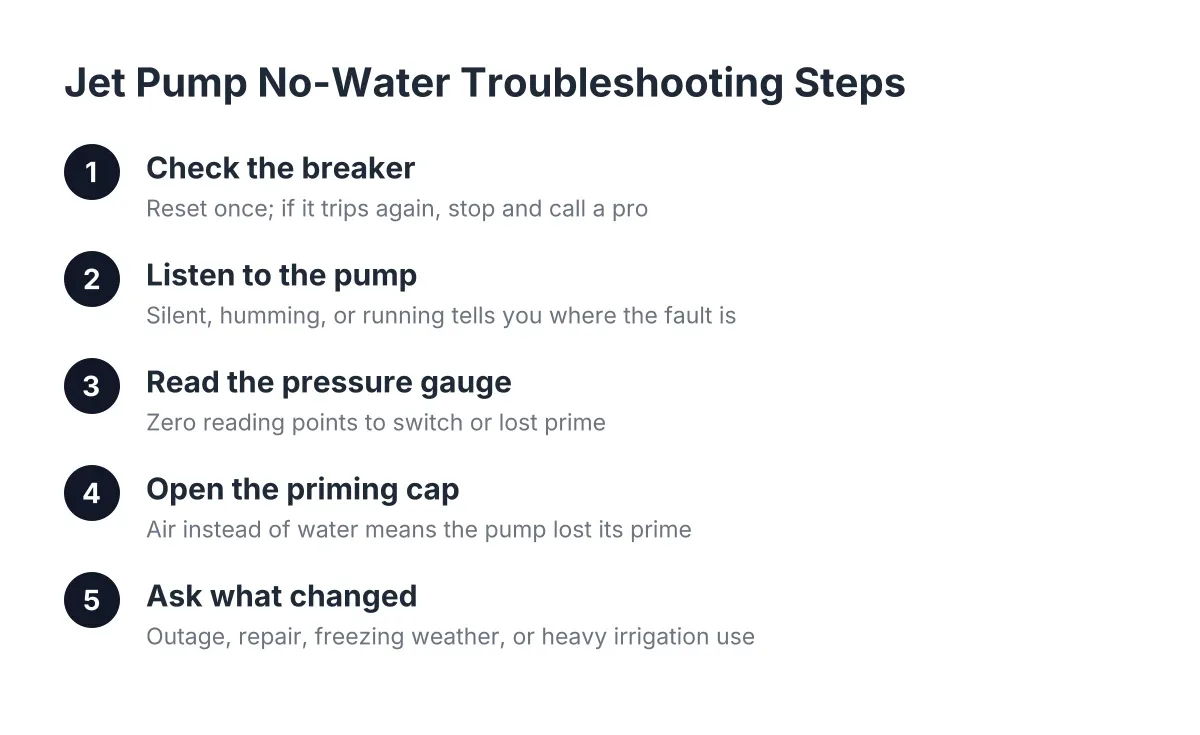
When a jet pump delivers no water, check four things in order: power at the breaker and pressure switch, the pressure gauge reading, the prime in the pump body, and the foot valve or suction line for leaks. Most no-water calls trace back to a tripped breaker, a stuck pressure switch, or a lost prime, and you can check all three yourself in about fifteen minutes.
Work through this list in order. Each step rules something out.
- Check the breaker. Go to your panel and look for a tripped breaker on the well circuit. Reset it once. If it trips again right away, stop; a breaker that will not hold points to a shorted motor or wiring problem, and repeatedly resetting it can make things worse.
- Listen to the pump. Is the motor running, humming, or silent? A silent pump with a good breaker points to the pressure switch. A humming pump that will not spin may have a seized motor or a failed starting capacitor. A running pump with no water points to prime or a suction leak.
- Read the pressure gauge. If the gauge reads zero and the pump never kicks on, the pressure switch contacts may be stuck or burned. If the pump runs constantly and the gauge stays near zero, the pump has lost its prime or is sucking air.
- Open the priming cap. With the power off, remove the priming plug on top of the pump. If you see air instead of water, the pump has lost its prime. That is your smoking gun.
- Ask what changed. A power outage, a plumbing repair, freezing weather in the well house, or heavy irrigation use the day before all matter. The pump rarely fails out of nowhere; something usually pushed it there.
Notice what is not on this list: taking the pump apart. You can diagnose the majority of no-water situations without turning a single wrench on the pump body.
Well Has Power but No Water: What That Combination Tells You
A well with power but no water means the problem sits past the electrical supply, which narrows things fast. Either the pump is not running because the pressure switch or motor failed, or it is running but cannot move water because it lost prime, the suction line leaks air, or the water level in the well dropped below the pump's reach.
The last possibility deserves a straight mention because it is real in Oregon. According to the U.S. Geological Survey, about 1,220 domestic wells in Oregon went dry or fell below pumping capacity between June 2021 and December 2023, and the true number is likely higher since reporting is not mandatory. A jet pump that keeps losing prime in late summer, after running fine all spring, sometimes signals a dropping water level rather than a pump defect. That is a groundwater question, not a pump question, and it changes the conversation from well pump repair to an aquifer and well depth assessment.
If you are a land buyer looking at a property with an older jet pump system, this distinction matters even more. A seller may describe an intermittent no-water problem as "the pump acting up" when the honest answer is that the well itself struggles in dry months. A well inspection with a water level check before you close tells you which problem you are buying.
How to Re-Prime a Jet Pump Without Making It Worse
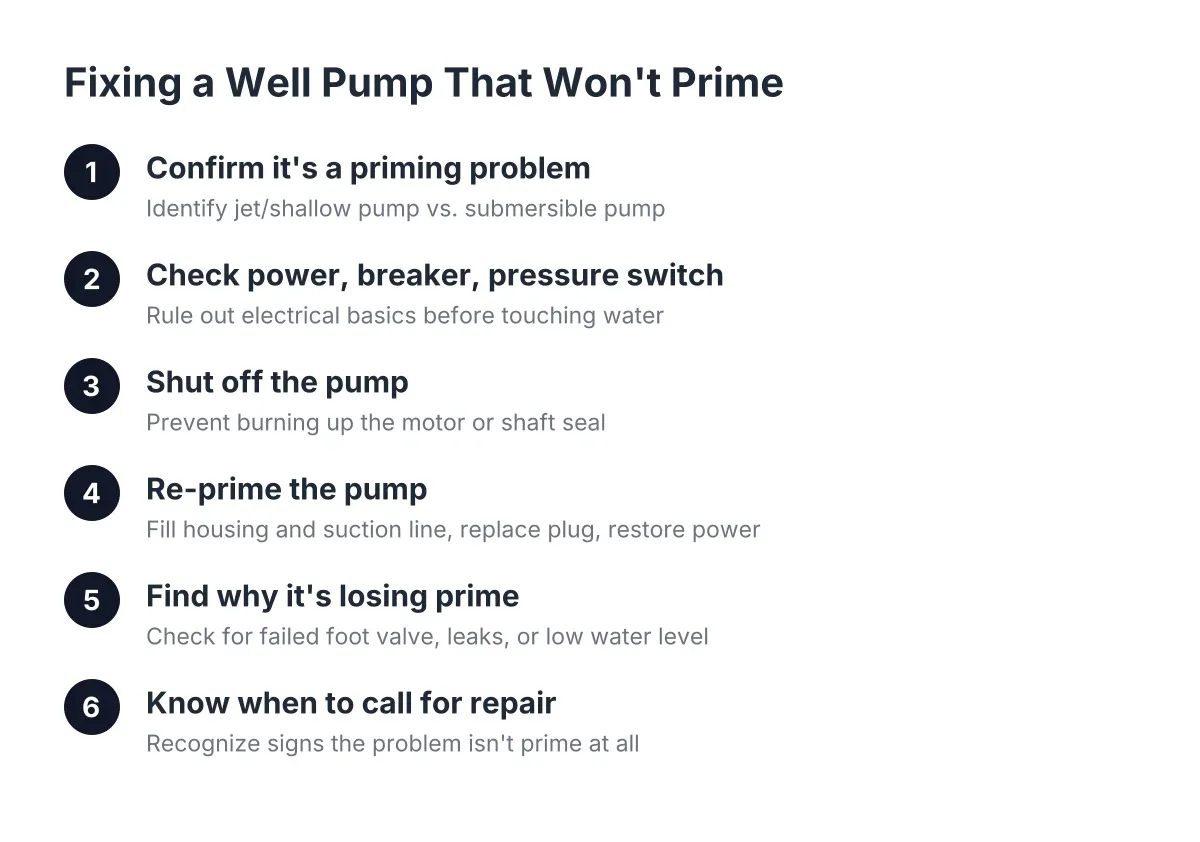
Re-priming a jet pump means refilling the pump body and suction line with water so suction can take hold again. Turn the power off, remove the priming cap, and pour clean water into the priming port until it floods the suction line back toward the water source and stays full. Then replace the cap, restore power, and watch the gauge.
The pouring stage takes patience. The suction line can hold a surprising amount of water, so keep filling until the water stops disappearing and sits at the top of the port. Use clean water; you are pouring it into your drinking supply.
Restarting has a technique to it. Crack the outlet valve open slightly while watching the pressure gauge. If pressure climbs, you are winning. If it immediately drops to zero, close the valve, let pressure rebuild, and open it slightly again. Repeat that cycle. It is normal for a jet pump to need several rounds of priming and restarting before it fully catches and holds suction, so do not declare the pump dead after one attempt.
However, if the pump catches, builds pressure, and then loses its prime again overnight, stop re-priming and start leak hunting. A pump that will not stay primed almost always has a leaking foot valve or a suction line pulling air. Pouring more water into it every morning treats the symptom, not the cause.
One layout detail trips people up on rural properties around Boring and Damascus, where the pump sometimes sits in an outbuilding away from the well. The suction line should run continuously downhill from the pump toward the water source, with no high spots other than the priming port itself. Any hump in that line traps an air pocket, and that pocket can make priming nearly impossible no matter how much water you pour.
Jet Pump Runs but Won't Build Pressure: Finding the Leak
When a jet pump runs but will not build pressure, water or air is escaping somewhere between the foot valve and the pressure tank. The fastest way to narrow it down is an isolation test: close the shutoff valve just downstream of the pressure tank and watch the gauge. That one move splits the system in half.
Here is how to read the result. With the valve closed, the house plumbing is out of the picture. If the gauge holds steady, your leak lives in the house, maybe a running toilet, a dripping irrigation line, or a failed pipe in a crawl space. If the gauge still drops with the valve closed, the leak sits on the well side, between the pump and the water source.
On the well side, check the easy suspects first. Look at the fittings around the pressure tank and the pump itself for weeping, corrosion, or mineral crust. If those are dry, the problem is likely in the suction line, and the most common failure point there is the check valve or foot valve itself. A foot valve that no longer seals lets water drain back down the well every time the pump stops, which shows up as slow pressure loss and repeated lost prime.
Weak pressure has a few other causes worth knowing:
- A clogged jet or nozzle. Sediment and iron buildup narrow the nozzle that makes a deep well jet pump work, choking flow over months.
- A worn impeller. The spinning part that moves water erodes over years, especially in sandy well water, and the pump slowly loses its punch.
- A waterlogged pressure tank. If the tank's air charge is gone, the pump short-cycles, kicking on and off every few seconds when you run a faucet. That rapid well pump cycling on and off wears out the pressure switch and the motor fast.
- A pressure switch set wrong or clogged. The small tube feeding the switch can plug with sediment, so the switch never sees true system pressure.
Suppose a homeowner outside Estacada notices the shower going weak every evening, and the pump in the well house seems to run constantly. In that scenario, an isolation test showing the gauge dropping with the house valve closed points straight at the well side. If the pump fittings are dry, the likely culprit is a tired foot valve, a repair measured in parts and a service call rather than a new pump. That is a much better conversation to have when you already understand what the gauge told you.
Understanding Jet Pump Cavitation Noise: Grinding and Rattling Explained
Cavitation noise in a jet pump sounds like gravel or marbles rattling inside the pump body, and it means the pump is starving for water. When the suction side cannot supply water as fast as the pump demands it, vacuum bubbles form and collapse violently against the impeller. That collapse makes the noise, and it chews up metal. The damage caused by jet pump cavitation noise accumulates quickly, so identifying it early is important.
Therefore, cavitation is never just a well pump noise problem to live with. Every hour of that rattle erodes the impeller, and a cavitating pump is telling you something upstream is wrong. The usual causes are a partially clogged foot valve or suction screen, a suction line that is too small or too long for the pump, a kinked or collapsing line, or a well water level that has dropped so far the pump strains to lift it.
First, shut the pump off when you hear sustained cavitation. Then check what you can see: is the suction line kinked, is there a valve on the suction side partially closed, did anything change recently? A pump that cavitates only during heavy use, say when irrigation and laundry run together, may simply be asked for more water than the well or the line can deliver at once. A pump that cavitates all the time has a restriction or a supply problem that needs eyes on it.
Distinguish cavitation from two look-alike sounds. A rhythmic click every few seconds is usually the pressure switch on a short-cycling system with a waterlogged tank. A loud hum with no rotation is a motor trying and failing to start. Naming the sound correctly is half of accurate water pump troubleshooting, and it is exactly the kind of detail that helps a repair visit go faster.
When to Stop Troubleshooting and Bring in a Well Professional
Stop the do-it-yourself work when the breaker will not hold, the pump will not stay primed after two or three careful attempts, the noise involves grinding metal, or anything needs to come out of the well itself. Electrical faults, foot valve replacement down the well, and water level questions all belong to a pump and well repair professional with the right equipment.
There is no shame in that handoff. The point of well pump troubleshooting at the homeowner level is not to fix everything yourself; it is to walk into the repair conversation informed. When you can say the pump runs but loses prime overnight, the gauge drops with the house valve closed, and the fittings at the tank are dry, you have handed a technician half the diagnosis. You will also recognize an honest answer when you hear one, because you already understand the logic.
Cost-wise, knowing the landscape helps set expectations. According to Angi, the national average well pump replacement cost is $1,898, with most homeowners paying between $975 and $2,821, and a typical professional well inspection runs $250 to $550. A foot valve or pressure switch repair generally lands well under a full well pump replacement, which is one more reason accurate diagnosis pays. Those are national figures, not quotes; the age of the system, access, and what the well itself is doing all move the number.
Two situations deserve extra attention in this area. If your jet pump problems track the seasons, worse in August, fine in March, ask about a water level check before replacing equipment, because a new pump cannot fix a dropping aquifer. And if a jet pump has failed repeatedly on an older shallow well, converting to a submersible pump sometimes makes more sense than another rebuild, though pulling and replacing drop pipe in a low-clearance well house is slow, section-by-section work that should be priced honestly, not glossed over.
For Land Buyers: What a Failing Jet Pump on a Property Really Tells You
A struggling jet pump on land you are about to buy is information, not necessarily a dealbreaker. The pump might need a hundred-dollar part, or it might be masking a well that cannot keep up. You cannot tell which from the listing photos, and neither can the seller in many cases.
Before you commit, three checks protect you. Get a well inspection that includes a flow test and a look at the equipment's age and condition. Get well water testing, because equipment is only half the story; according to the U.S. Environmental Protection Agency, a USGS study of 2,100 private wells found about one in five contained at least one contaminant above a human-health benchmark, and more than 23 million U.S. households rely on private wells. And ask for the well log, the record filed when the well was drilled, which tells you its depth and construction.
For context on the worst case, HomeAdvisor reports homeowners spend an average of $3,000 to $9,000 to drill a well, with an average around $5,500. Knowing that range turns "the pump seems old" from a vague worry into a negotiating point you can actually price. A no-water problem you understand is a problem you can plan around, whether that means a repair credit at closing, a budget line for well pump replacement, or in rare cases, walking away.
The pattern across this whole guide is the same. Power, prime, leak, or worn part; check them in that order, write down what you find, and you will either fix it yourself or describe it so clearly that the fix goes fast. Either way, you are no longer at the mercy of whoever answers the phone.
If you need well drilling, Clackamas Well Drilling can help.
Prefer to talk it through? Call (503) 782-5215 — a quick call is usually the fastest way to get a straight answer for your situation.