Well Pump Not Working? Step-by-Step Submersible Pump Troubleshooting
You turned on the tap and got nothing, and now you are staring at the faucet wondering whether the problem is a $20 part or a dead pump at the bottom of your well. If your well pump is not working, there is a short list of things you can check yourself before anyone drives out, and checking them in order tells you a lot. Most homes around Gresham, Sandy, Boring, and Damascus run a submersible pump paired with a pressure tank, so this guide follows that setup: power first, then the pressure switch, then the tank, then the signs that the problem is deeper in the well.
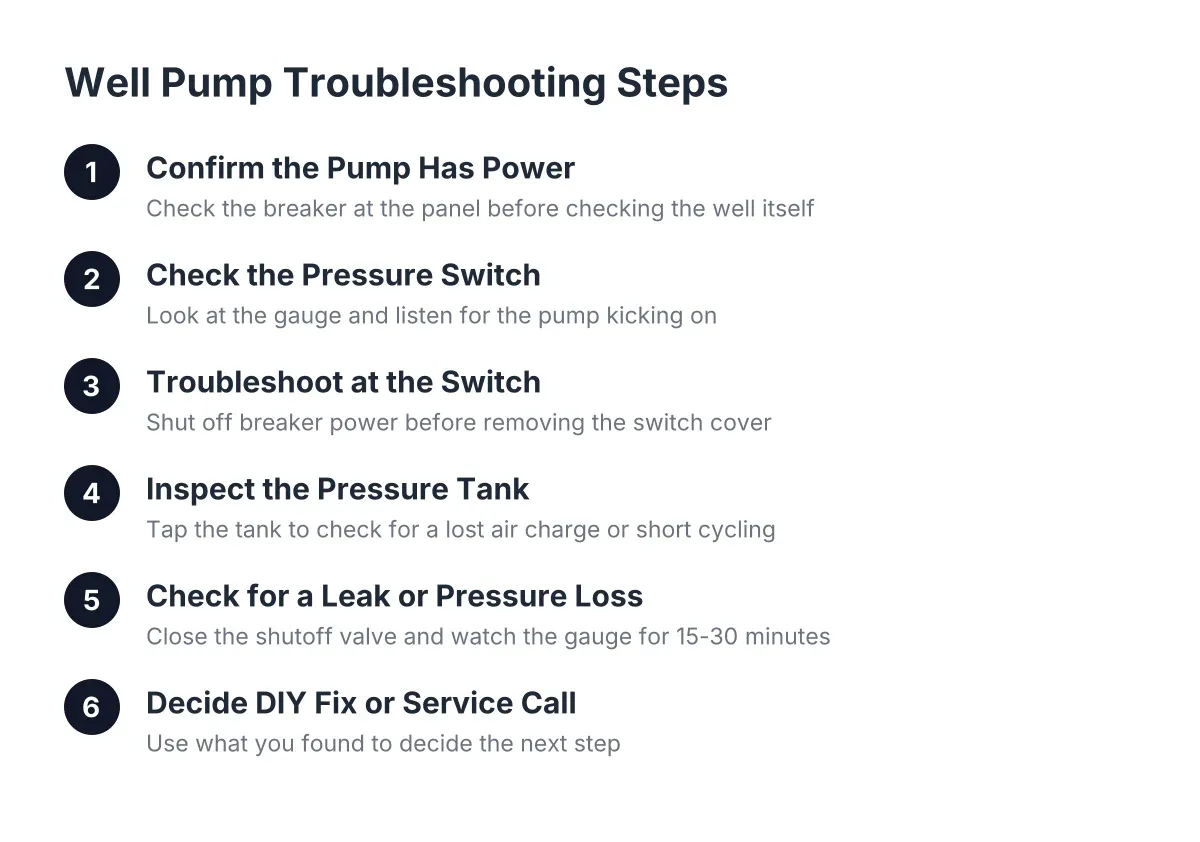
Work through the steps in order. Each one either restores your water or narrows down what you will tell the repair company on the phone, which is worth real money when you are paying for a service call.
Step 1: Confirm the Pump Has Power
Start at your electrical panel, not at the well. Suddenly having no water from the well after a storm, a power outage, or running a generator is often an electrical problem, not a pump problem. Find the breaker labeled for the well pump and look closely; a tripped breaker often sits in a middle position rather than fully off.
If the breaker tripped, reset it once. If it holds and water returns within a minute or two, you are probably fine for now, though a breaker that trips again soon is a warning sign covered in Step 5.
However, when your well pump is not working and the breaker is not tripped, that is a different situation. That means power is likely reaching the system and the failure is downstream: the pressure switch, the wiring, the pump control box, or the pump motor itself. Note that detail. Telling a technician "well has power but no water" versus "the breaker was tripped" changes what they load on the truck.
One caution for generator users east of the metro area, where outages are common: some generators do not deliver enough steady power to start a submersible pump motor. If your well pump is not working on a generator but ran fine before the outage, the generator may be the whole problem.
Step 2: Check the Pressure Switch
The pressure switch is the small gray box near your pressure tank, usually with a thin tube connecting it to the water line. It tells the pump when to turn on and off, and it is one of the most common failure points in any residential well system.
First, look at the pressure gauge next to the tank. If it reads zero and you hear nothing, the switch may have tripped its low-pressure cutoff. Many switches have a lever on the side you can hold to restart the pump; check the switch label before touching it.
Next, watch and listen while someone opens a faucet. A healthy system shows the gauge dropping, then the pump kicking on. If the gauge drops and nothing happens, the switch contacts may be burned or stuck. Sediment and small insects can also block the tube feeding the switch.
Step 3: Troubleshooting a Well Pump Not Working at the Switch
Two safety rules matter here:
- Always shut off power at the breaker before removing the switch cover or replacing the switch. It carries live voltage.
- Never let the pump run with no water moving through it. A submersible pump cools itself with the water it moves, and running it dry, or against a closed valve, can burn it up. Any valve on the pump's output line should be open whenever the pump has power.
If you replace a switch yourself, cycle the system on and off several times afterward while running water. Confirm the pump does not overheat, the system builds pressure normally, and the gauge holds steady when everything is off.
Step 4: Inspect the Pressure Tank
According to the Indiana Department of Health, residential well systems typically use a submersible pump paired with a pressure tank, which may sit near the well, in the house, or in a crawl space. The tank stores pressurized water so the pump does not start every time you rinse a glass.
Tap the tank from top to bottom. It should sound hollow on top and dull near the bottom. A tank that sounds full of water all the way up has likely lost its air charge or has a ruptured bladder inside.
A waterlogged tank produces a distinct symptom: the well pump cycling on and off rapidly, sometimes every few seconds while water runs. That short cycling wears out the pump motor and the switch fast, so it deserves attention even if you still have water.
Keep one distinction straight, though. A tank that is low on air causes short cycling and pressure swings, but it does not explain a total loss of water at the switch. If you have zero pressure and zero water, the tank is probably not your main problem, and you should keep working down the list.
Step 5: Look for a Leak or Loss of Pressure Between the Pump and the House
Low water pressure from the well, or pressure that bleeds away overnight, often points to a leak rather than a failing pump. There is a simple isolation test that tells you which side of the system is leaking.
Close the shutoff valve just downstream of the pressure tank. That cuts the house plumbing out of the picture. Then watch the pressure gauge for fifteen to thirty minutes.
- If the gauge holds steady with the valve closed, the leak is inside the house: a running toilet, a dripping irrigation line, or a failed fitting.
- If the gauge drops with the valve closed, the leak sits between the pump and the tank. Common culprits are the fittings around the tank and pump, the check valve, or the drop pipe down in the well itself.
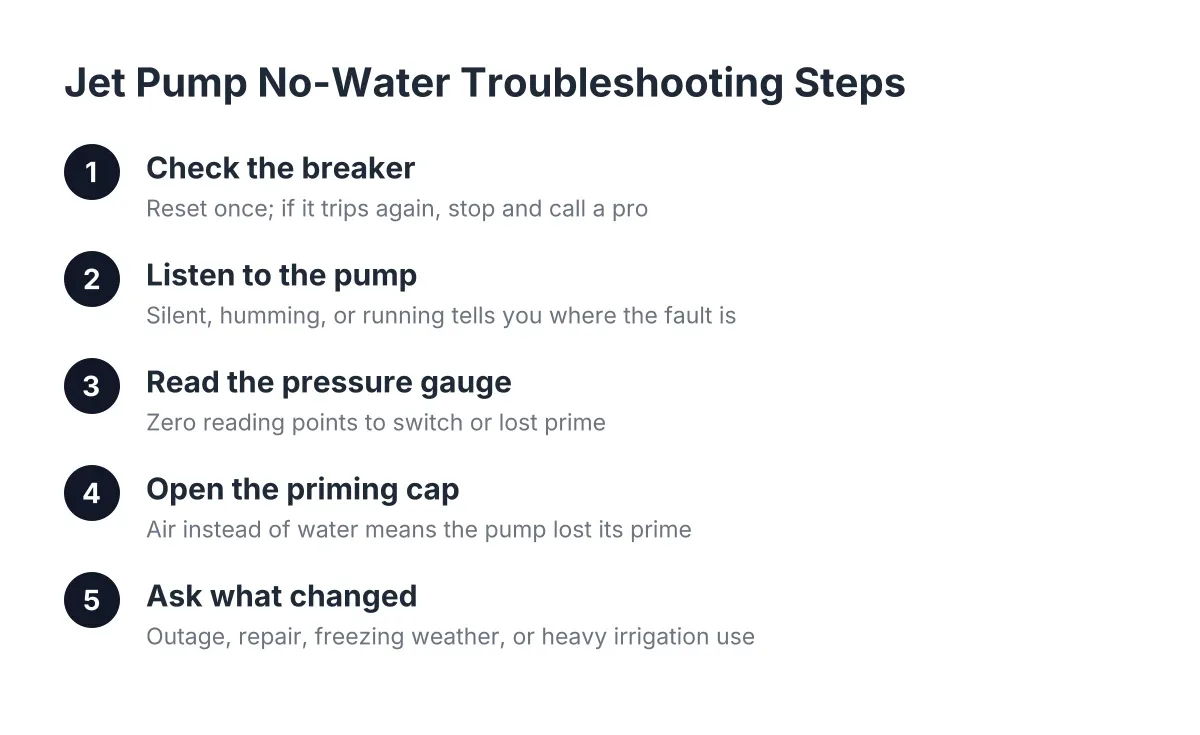
For homes with an above-ground jet pump instead of a submersible, a dropping gauge can also mean the pump lost its prime, meaning air got into the suction line. Re-priming involves shutting off power, removing the priming cap, and pouring clean water into the port until the suction line floods. Submersible pumps sit underwater and do not lose prime the same way, but a leaking drop pipe or check valve inside the well casing produces the same symptom: pressure that will not hold.
A leak inside the well casing is not a homeowner fix. Pulling a submersible pump means lifting a long string of pipe, wire, and hardware out of the ground, which takes equipment and at least two sets of hands.
Step 6: Read the Signs of Well Pump Failure vs. a Well Problem
By this point you have ruled out power, the switch, the tank, and an obvious leak. Now the question shifts: is the pump dying, or is the well itself running low? These are common signs of well pump failure:
- The breaker trips repeatedly, which suggests the motor is drawing too much current as it fails or has a short in the wiring down the well.
- Grinding, rattling, or clicking sounds from the well or the control box.
- Pressure that has faded gradually over weeks, not overnight.
- Sudden sediment in the well water, which can mean the pump is breaking down or has dropped closer to the bottom of the well.
A dropping water table produces different clues. Water that comes back after the system rests, sputtering or air spitting from faucets, and problems that show up during dry late-summer months all point toward the well rather than the pump. This is not rare in Oregon; the U.S. Geological Survey reports about 1,220 domestic wells in the state went dry or fell below pumping capacity between June 2021 and December 2023, and the true number is likely higher since reporting is voluntary.
Some newer constant pressure systems make this easier by shutting themselves off when they detect a dry well, protecting the pump while the aquifer recovers. If your system keeps shutting down on its own, that safety feature may be doing its job, and the real issue is water supply, not equipment.
Step 7: Decide Whether This Is a DIY Fix or a Service Call
Suppose a homeowner in Boring wakes up to dry taps on a Saturday. She checks the breaker, finds it tripped, resets it, and gets water back for an hour before it trips again. That pattern—a well pump not working and repeatedly tripping its breaker—is a stop sign. Continuing to reset it risks burning up a motor that might otherwise be repairable, and the fix likely involves pulling the pump.
As a rough guide, these jobs split cleanly:
- Reasonable DIY: resetting a breaker once, checking the pressure switch, tapping out the tank, and running the leak isolation test in Step 5.
- Call a well pump repair professional: repeated breaker trips, a burned or failed switch you are not comfortable wiring, a waterlogged tank, any leak inside the well casing, sudden sediment, or suspected dry-well symptoms.
Cost-wise, having a realistic number in mind protects you from panic decisions. According to Angi, the national average well pump replacement cost is $1,898, with most homeowners paying between $975 and $2,821. Many calls end up cheaper than that; a pressure switch or a tank problem costs far less than a new pump. On the other end, a well that is genuinely losing capacity may call for an aquifer and well depth assessment or, eventually, deeper drilling, which is a different budget entirely.
The work you did in Steps 1 through 6 is what keeps that conversation honest. Careful troubleshooting before you call means you can say "the breaker is not tripped, the gauge drops with the house valve closed, and the tank sounds waterlogged" instead of "there is no water." A well and pump company hearing that description can diagnose faster, bring the right parts, and quote you based on facts instead of guesses.
One honest limitation: nothing in this guide substitutes for eyes on your specific system. Anything involving pulling the pump, wiring beyond a switch swap, or a well that may be running dry needs a professional, both for safety and because guessing wrong on a submersible pump gets expensive fast. But walking through these steps first means you make that call informed, not desperate.
If you need well drilling, Clackamas Well Drilling can help.
Related guide: well pump troubleshooting — Complete Guide
Prefer to talk it through? Call (503) 782-5215 — a quick call is usually the fastest way to get a straight answer for your situation.