Well Pump Maintenance Schedule: What to Do Every Year Before It Breaks
Most well owners find out something is wrong the same way: a faucet that gives nothing. If you own one home on a well, that is a bad morning. If you own several rental properties around Gresham, Sandy, Boring, or Estacada, it is a tenant call, a vacancy risk, and an emergency bill you did not plan for. A yearly well pump maintenance routine is how you stop finding out the hard way. This guide lays out a step-by-step schedule built for owners who cannot personally check on every well every week, so problems surface during a planned visit instead of a no-water emergency.
The stakes are real in Oregon. According to the U.S. Geological Survey, about 1,220 domestic wells in the state went dry or fell below pumping capacity between June 2021 and December 2023, and the true number is likely higher because reporting is not mandatory. Pumps and wells fail quietly for months before they fail loudly. The steps below catch the quiet part.
Step 1: Write Down What Every Well Actually Has
You cannot maintain what you have not documented. Before anything else, build a one-page record for each well you own. For a landlord with five well-served properties across Damascus, Corbett, and Oregon City, this record is the difference between telling a repair tech "the pump is down" and telling them "it is a submersible pump with a pressure tank in the crawl space, installed before I bought the place."
For each property, record:
- Pump type and location. Most residential systems pair a submersible pump with a pressure tank, which may sit in the well, in the house, or in a crawl space, according to the Indiana Department of Health.
- Pressure tank location and the pressure switch settings if they are labeled.
- Well location on the property, with a photo of the wellhead.
- Any pump house contents: pressure tank, filtration, water conditioner.
- Date of the last well pump replacement or repair, if known.
- Baseline water pressure and how the water normally looks, smells, and tastes.
If you inherited a well with no paperwork, a well inspection can fill in most of these blanks. That baseline record is what makes every later step faster and cheaper.
Step 2: Walk the Wellhead Every Spring
Once a year, in spring, physically visit each wellhead. This takes ten minutes per property and catches the failures that turn into contamination or a dead pump.
Check that the well cap or seal is intact and tight. A loose seal lets insects, rodents, and surface runoff into your water well, and on shallow pump installations a loose seal also lets the pump assembly shift, which can break plumbing connections. Tighten it firmly.
Next, look at the ground around the casing. Water should drain away from the well, not pool around it. Standing water at the wellhead is a direct path for surface contamination into the groundwater you drink. In addition, confirm nothing new has moved close to the well since last year: fuel storage, fertilizer, a tenant's burn pile, or livestock.
A full enclosure around the pump is not required. However, a simple three-sided lean-to over an exposed above-ground pump gives weather protection without trapping moisture the way a sealed box can.
Step 3: Test the Water Annually, Not Just When It Tastes Off
Run a well water test once a year, every year, at every property. Water can carry bacteria or nitrates with no change in taste, smell, or color. For landlords, annual well water testing is also basic protection: if a tenant raises a water quality complaint, you want a dated record showing the well tested clean.
Test more often after specific events: flooding near the wellhead, any work done on the well or pump, or a noticeable change in the water. It is standard practice to test after any new well is drilled, according to the CDC, and the same logic applies after major repairs. If a repair involved disinfecting the system with chlorine, run the water heavily first so the sample reflects normal water quality, not lingering disinfectant.
Step 4: Check Pressure and Listen to the Pump Cycle
This step is the heart of maintaining a well pump, and it costs nothing. Twice a year, open a faucet and pay attention to how the system behaves.
Watch the pressure gauge on the tank. The pump should kick on at a consistent low pressure and shut off at a consistent high pressure. Then listen. A healthy pump cycles on, runs steadily, and shuts off. Warning signs worth writing down:
- Short cycling, meaning the pump turns on and off every few seconds. This usually points to a waterlogged pressure tank and it wears out the pump motor fast.
- Grinding, clicking, or rattling from the pump or pressure switch.
- Pressure that surges and drops while a single faucet runs.
- Air spitting from faucets, which can signal a dropping water level or a failing drop pipe.
- The pump running when no water is being used, which suggests a leak or a failing check valve.
One thing you do not need to worry about: normal use. Submersible pumps are built for frequent, heavy running, so there is no need to ration water to protect the pump. What destroys a pump is running dry. A pump moving no water burns itself up, which is why some constant pressure systems include a shutoff that stops the pump if the well runs low and lets the aquifer recover.
For a landlord, teach tenants the five warning signs above and ask them to report any of them the day they notice. A tenant who reports short cycling in March saves you an emergency well pump service call in July.
Step 5: Drain and Flush the Pressure Tank
Once a year, drain the pressure tank and flush it. Sediment settles at the bottom of the tank over time, and flushing it out keeps the tank holding the right amount of air and water. A waterlogged or sediment-loaded tank forces the pump to cycle constantly, and short cycling is one of the most common ways owners quietly shorten a pump's life.
While the tank is drained, check the air charge if your tank has a valve for it, and inspect the tank and fittings for rust, corrosion, or seeping joints. Small drips at fittings are cheap now and expensive later.
Step 6: Winterize Before the First Hard Freeze
East of Portland, freeze damage is a preventable failure that still catches owners every winter, especially at rentals where nobody is watching the pump house.
Before the first hard freeze each fall, insulate exposed pipes at the wellhead and inside any unheated pump house. Confirm heat tape still works if you rely on it. Some pump setups include a drain-back feature that empties the supply line after each use; those can run through winter without insulation or heat. If you do not know whether a property has that feature, assume it does not and insulate.
For example, suppose a landlord in Boring has a rental where the pressure tank sits in an unheated shed. A burst fitting during a January cold snap means a no-water call from the tenant, an emergency visit, and possibly water damage. Thirty dollars of pipe insulation and a fall walkthrough prevents that entire chain.
Step 7: Schedule Professional Well Pump Maintenance on a Fixed Cycle
How often should a well be serviced by a professional? Once a year is the standard answer for a professional well inspection, and it holds for most properties around Gresham. According to Angi, a typical professional well inspection costs $250 to $550, and total well and pump maintenance runs most owners $200 to $900 per year. Against that, the national average well pump replacement cost is $1,898, with most homeowners paying between $975 and $2,821, also per Angi. An annual inspection is the cheaper side of that math.
A proper inspection covers what you cannot check yourself: pump amperage draw, pressure switch operation, tank air charge, wiring condition, and flow performance compared with your baseline. It can also flag a slowly declining water level in the aquifer before the well stops producing, which gives you time to plan instead of react. For owners with multiple wells, a well service agreement that puts every property on the same annual cycle turns pump and well repair from an emergency into a line item.
There are limits to a checklist, and it is worth being honest about them. Anything involving pulling a submersible pump, working on well wiring, or diagnosing a well that has stopped producing belongs with a professional. Guessing wrong on electrical work at a wellhead is dangerous, and pulling a pump without the right equipment can drop it down the well.
The Yearly Well and Pump Maintenance Calendar at a Glance
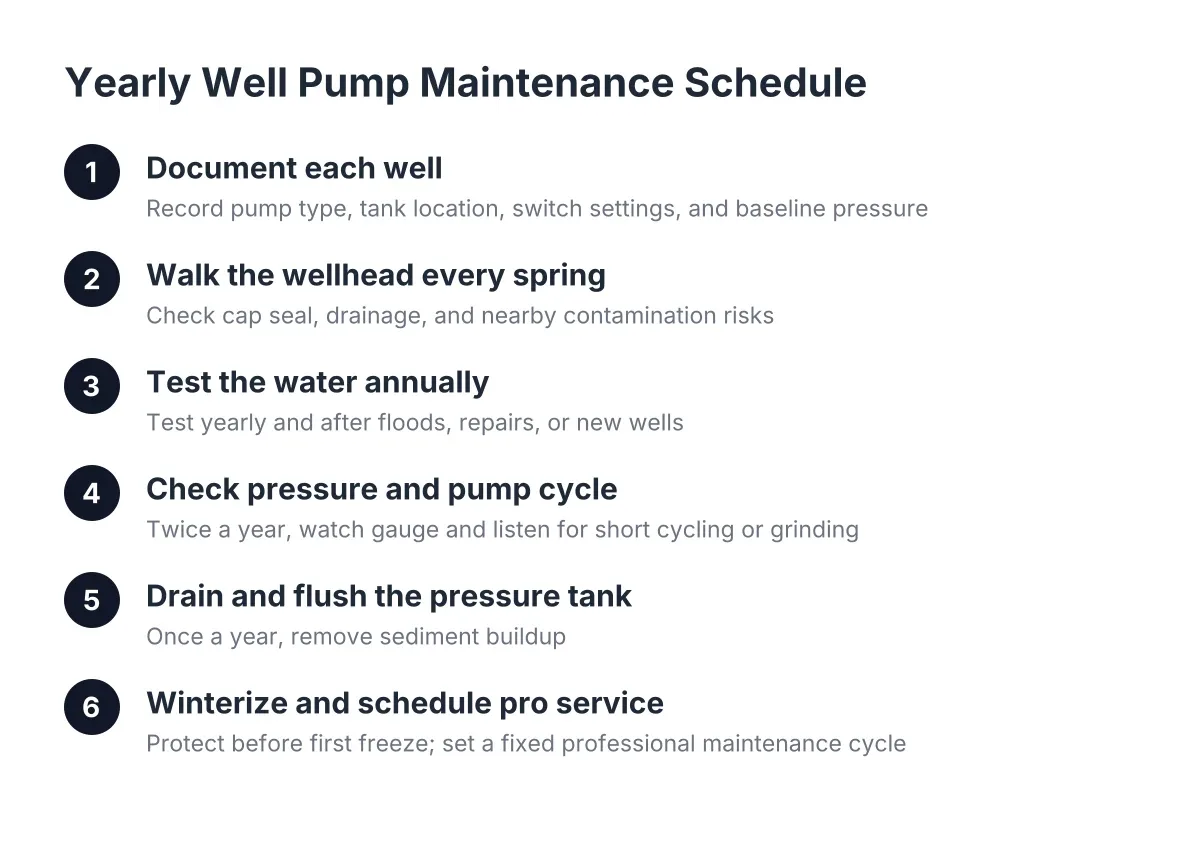
Here is the whole schedule condensed. Consistent well and pump maintenance is less about any single task and more about doing these on a repeating calendar, so nothing gets skipped in a busy year.
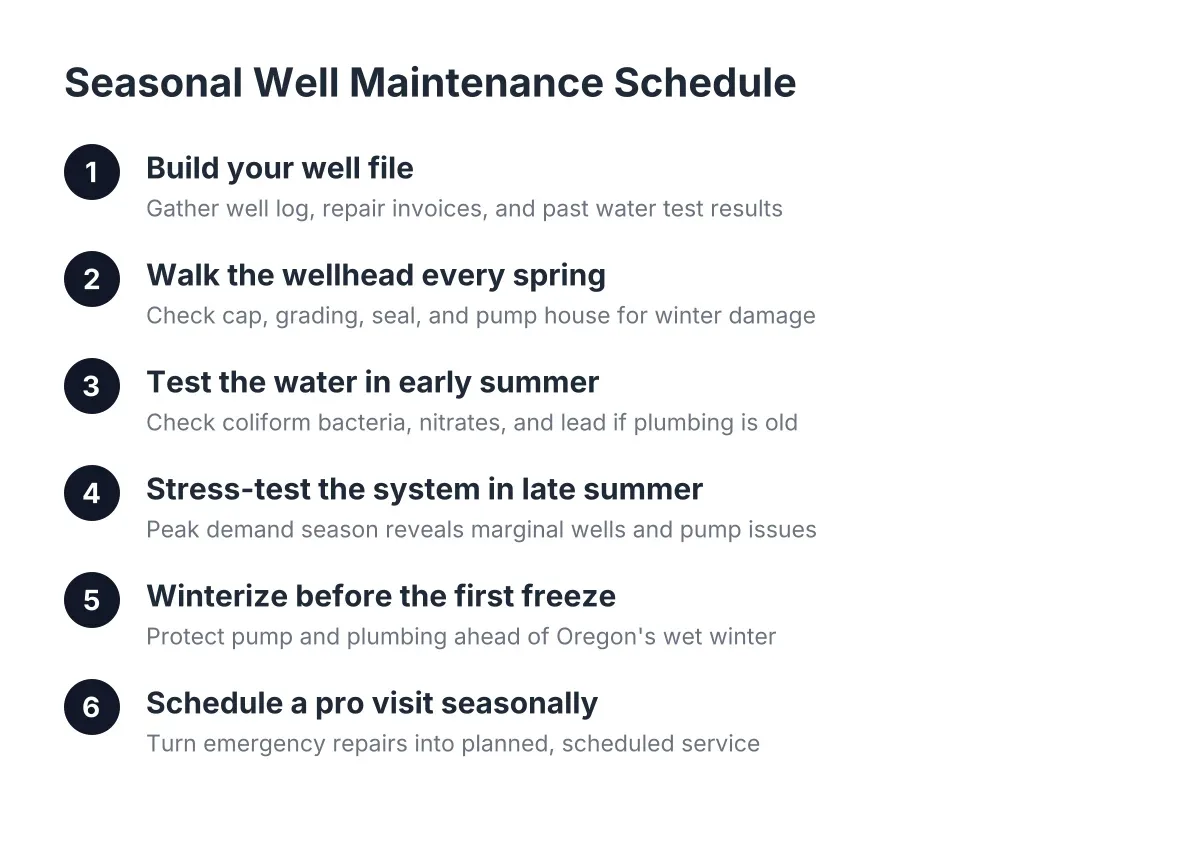
- Spring: Walk each wellhead, check the seal, check drainage and setbacks, and take the annual water sample.
- Spring and fall: Watch the pressure gauge and listen to a full pump cycle. Log anything unusual.
- Summer or fall: Drain and flush the pressure tank; inspect fittings.
- Fall: Winterize exposed lines and pump houses before the first freeze.
- Once a year, any season: Professional well inspection, same month every year so it becomes automatic.
- Ongoing: Update the property record after every repair, test, or well pump replacement.
The pattern behind every no-water emergency is the same: the system gave warnings, and nobody was there to notice. A water well pump not working on a Saturday morning almost always short cycled, rattled, or lost pressure for weeks first. This schedule puts someone, you, a tenant, or an inspector, in front of those warnings on a regular basis. That is the entire point of well water maintenance: hear the small noise this year so you never hear the silence next year.
If you need well drilling, Clackamas Well Drilling can help.
Prefer to talk it through? Call (503) 782-5215 — a quick call is usually the fastest way to get a straight answer for your situation.